With your new phone and with the 10+ megapixel cameras, nearly everyone can snap quality digital photos and shoot video all day long. And make it more impressive using some editing tools that easily available on every smartphone.
But when it comes to storing your photos, you always ask yourself -Where do I keep all of my photos? What’s the best approach to keep images safe by backing them up? People regularly use one of a few online photo storage options, but most of them fall short when it comes to photo security.
Therefore, we have come up with this guide that tells you few methods that not only store your backup pictures but even secure them as well. Let’s find out what are these methods?
Backup Pictures using Google Photos App
One of the best and simplest methods to keep your Android images safe is to use Google Photos. You get 15GB of Google Photos storage to store your all backups. Your backup includes more than pictures and videos, it will also include PDF, files, and folders, etc. Additionally, Google Photos also decrease the size of the photos and videos while still retaining a high level of detail and clarity- sometimes it’s so difficult to judge the difference.
Note: In case, 15GB storage isn’t enough for you, you can upgrade the storage in Google Photos.
Here’s how to back up pictures on Android with Google Photos:
- Open the Google Photos app on your android phone and sign in to your Google account.
- Once you’re in, click on the Menu icon from the top right corner. Select the “Settings> Back up & sync option”.
- Click the “Back up & sync” and swipe it on or off.
- Now, change the settings like Google account, Upload size, backup device folders, mobile data or Wi-Fi, and Roaming options.
- Finally, hit the Photos icon. At the top, you can check if all the photos got backed.

How to Backup Pictures on Android with Capebera
Capebera is a cloud storage backup solution. Its user interface is simple and by using the drag-drop feature you can quickly upload documents, pictures, etc. to Capebera. Capebera facilitates storage, backup, workspace, and 5GB free storage for backups & store files.
Like others, you can access unlimited sharing to people, its password protection makes it your first choice. Means, you can share the unlimited file through links or emails with password protection. It makes dealing with backup and storage issues with security much easier.
Here’s how to backup pictures with Capebera:
On Android device, you can use Capebera App or Capebera.com as well for backing up your android pictures. We will take an android to understand how to use Capebera. Both interfaces are quite same.
1. Download and Install Capebera application on your android device from the Google Play Store and create your account using your email id and password.
2. Now, click on the Upload or Files icon. Doing so will take you to the phone gallery. Select the pictures you want to upload or backups.

3. Capebera is a cloud storage service. So, all your uploads will be online and you can now access uploaded pictures from anywhere and from any device.
Additionally, you can also move the items from Capebera to your Drive, while the original one retain in Capebera.
How to Backup iPhone Pictures with iTunes
iTunes make the complete backup of your computer and can sync with any portable device easily. Make sure to back up pictures with iTunes you need to have Mac or Computer. Here’s how to back up iPhone pictures with iTunes.
Before you start, make sure you’ve upgraded your iTunes version to 12.5.1 or later.
Now, you need to connect your iPhone with PC using a USB cable and unlock your iPhone. When prompted: click Trust This Computer to allow the transfer of photos from iPhone to PC.
Open iTunes and click on the iPhone device’s icon. Then, hit the Photos tab under the section to check the Sync Photos box.
Now, select the pictures or desired folder from the drop-down menu and hit the Apply button to start the transfer. You’re done.

How to Backup Pictures on iPhone with iCloud
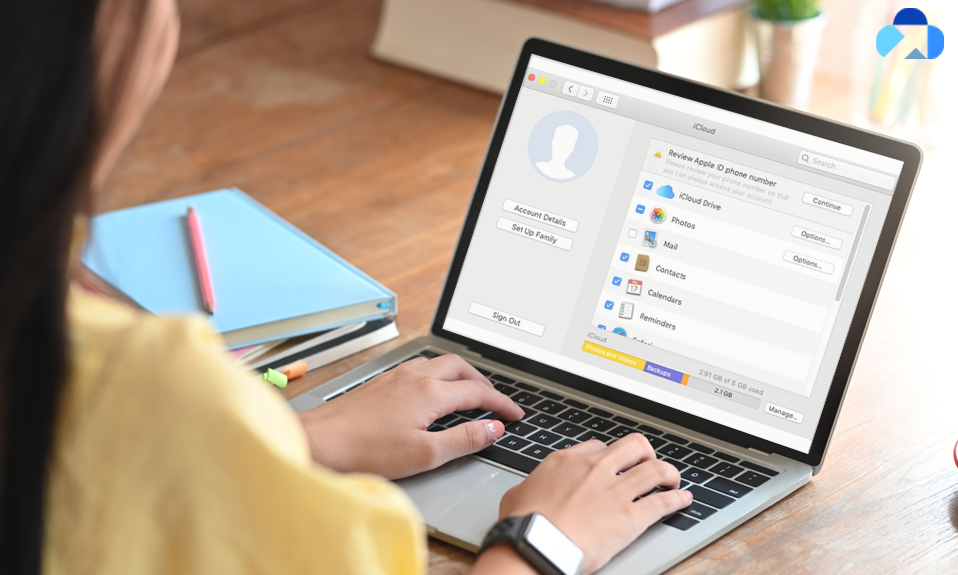
You can easily back up your pictures wirelessly on iPhone using iCloud Photo Library. iCloud backup your data wirelessly, then you don’t need to use any USB cable. To use this, you’ll need to sign in with an Apple ID. If you don’t have one yet, you need to create one first, only then you can use the iCloud service.
Here’s how to back up pictures to iCloud:
1.First of all, open the iPhone “Setting and tap Your Name and then select iCloud.”
Note: In case, you don’t see your name after open the settings, that means you’re not signed in to an iCloud account. So, to see this option, first sign in to iCloud account.
2. Once you’re on iCloud screen, tap Photos>Turn on iCloud Photos.
Remember, iCloud provides 5GB storage for free, so before you backup your pictures make sure to organize your photo library by deleting unnecessary snaps, repeated photos and etc.

How to Backup iPhone Pictures to Computer with Photos App
How to Backup iPhone Pictures to Computer with Photos App
You can also use Windows 10 Photos App to transfer all the iPhone pictures to the PC. Here’s how to backup iPhone pictures to the computer.
- First of all, connect your iPhone with a PC using the USB cable. Once it connects, go ahead.
- Go to the Start menu and type Photos and open it. On the Photos app select Import in the top-right corner.
- All the photos will get selected by default, so choose them not to import. Doing so will help you to choose the selected pictures to transfer.
- Finally, once you select the pictures you want to transfer, select Continue and go ahead. Make sure not to unplug the iPhone during the process.
Out of the Box Solution-Social Media
Social media evolving so increasingly and people are used to it. Different people have different means to Social Media, some find it for scrolling only, some use it for making new friends and etc. But one thing which makes it similar for everyone is uploading your pictures-memories. Everyone uploads pictures on social media and for many people; their social media page has become a de-facto photo library.
This photo library has also a backup solution, like other methods. For example, On Facebook- you can back up all your data including chats, and pictures from the Settings. Like this, many other platforms allow you to create backups. But social media comes with pitfalls as well. Completely relying on Facebook and Instagram as your online photo storage can be a serious mistake. For example, social media accounts are frequently hacked and profiles get deleted by accident, both of which compromise your ability to retrieve your photos. If either of those things happens, you could lose your treasured memories forever.
So, it’s important for you to choose wisely. However, Facebook also provides various security options that secure your account such as, private account, two-factor authentication and etc.
Summary
Hey guys! This was the guide about “how to backup pictures.” Here we’ve discussed different methods for backing up your pictures including Android, Windows, Mac, and iPhone. So, whether you’re an android user or an iOS user, this guide would definitely help you to backup your pictures. Hope you find this article helpful and informative. Please let us know in the comment section, which method you used for backing up your pictures.


